Last night was a late night. Three AM. I don't think I've pulled a nonpaying late-nighter since my college days. Being the dedicated junkie that I am, I think I finally earned my first stripe as a typebarhead.
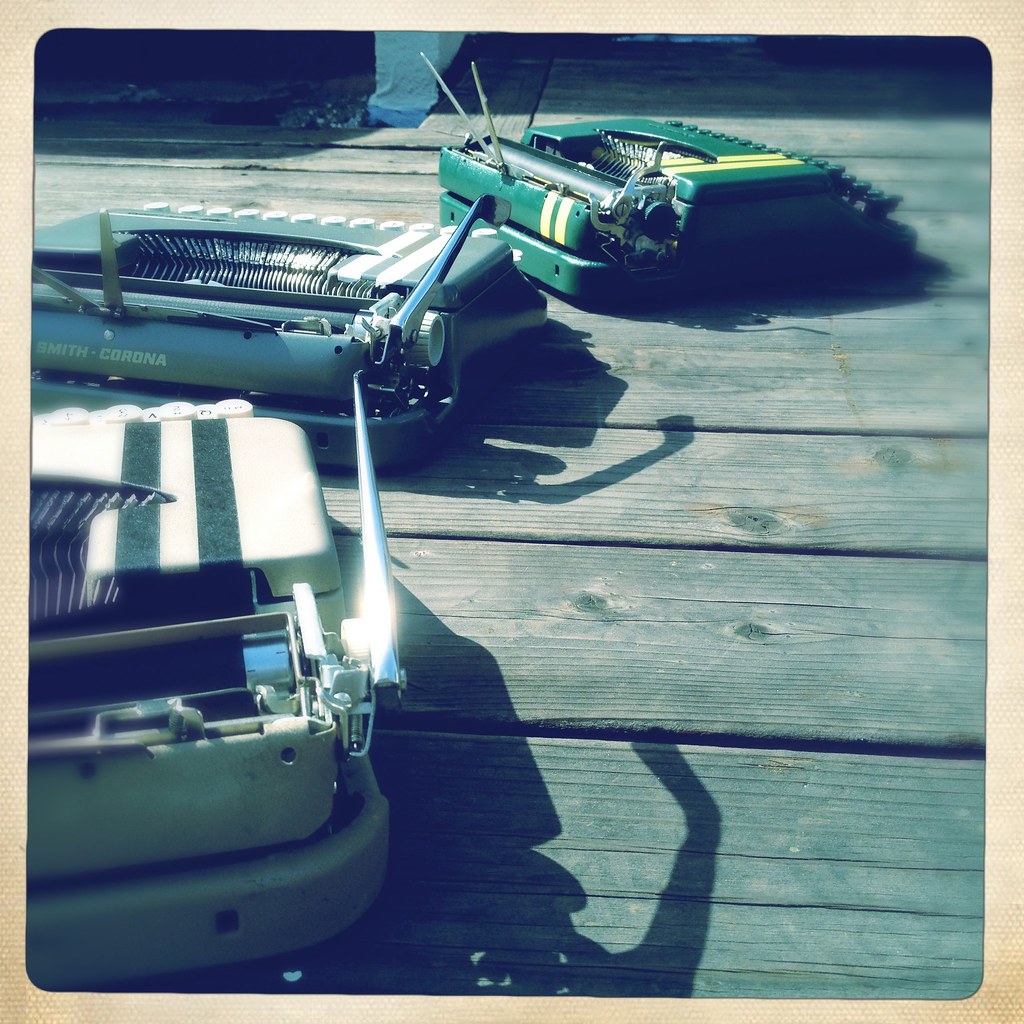
After dinner yesterday, my belly was happily filled with comfort food which I direly needed. The television was blaring some housewife reality show on Bravo so I decided to go to the garage to inspect my "workbench" which consisted of a temporary plastic fold-up table. Originally, this was my typing table for my Sherman, my Selectric II, and two other standards. I was too lazy to haul these hulking beasts up three flights of stairs so they were relegated to the garage. Now they sit on the garage floor nearby. Except for Hank, my Royal HH, that shares the table with the work in progress. Half the table is now cluttered with typewriter parts and tools. New additions include a lamp and a blow dryer. The most recent inhabitant is Olivetti Lettera 32.
As I blogged yesterday, I had given the Lettera a much needed soap bath. As I drained the sink, I discovered a quarter inch spring lying at the bottom. Luckily, I use a strainer for such reasons, but I didn't need it on this occasion because the spring sat dead center against the white, calling for my attention. I deduced from the carriage not working properly anymore and through a second working Lettera that the spring came from the escapement mechanism, one that held the teeth to the wheel that held and advanced the carriage as one typed. Through my Skyriters, I had a good sense of how it looked and worked, but there is no clear sight or access to this mechanism on the Olivetti. I had to remove parts piece by piece to try to get closer to it until finally the carriage collapsed on me when the ball bearings fell out. I now had easy access to the escape mechanism and wheel, but a whole new problem of reassembling the carriage confronted me. Since I didn't plan on dismantling the carriage system, I did not track how the parts fit and worked together. I feared I was not going to be able to put it all back together. But one thing at a time.
I concentrated on the mystery spring. I hooked it on the teeth that controlled the wheel. I got it working in theory (hard to test with no carriage at this point) but the spring was being twisted irregularly so I knew it was incorrect. I eventually found what I thought would be correct since I had no map or drawing to follow (and I was not about to take apart the other functioning Lettera to see since I had no idea if I could put one back together). I included the photo in my last blog. I will prematurely jump to the result since it was good news. The guess was correct. Happy days!
Before I knew this of course, I was faced with the question and challenge if I could put this typewriter back together again. I've never liked dealing with ball bearings the few times I've encountered them. And never before on a typewriter. The first hour was quite fun, trying to come up with a way to get the ball bearings back into the rails without falling. It was like pinball or a game called Labyrinth I played as a child where you tried to navigate a metal ball through a maze via tilting and shifting the level of the board via knobs. The balls kept dropping so much that it was almost comical. This is where a plastic folding table where it's center has been bent over time with weight becomes a benefit (thanks Sherman!). All dropped balls rolled back to the center.
By the second and third hour, it became less fun and comical. It became more a mind riddle how they got them there and finally it felt like a Jedi mind trick. More drastic measures were needed with the machine being in various orientations that the balls now fell to the ground. I spent much time on my knees with a flashlight looking around other typewriters and cases surrounding me. A few times I thought I had lost one for good and the game was over, but each time I got lucky and found it again. Only one time I was at a loss. Usually I hear it hit the concrete floor so I know it's there, but one time, two balls dropped. One hit the table and rolled (a very distinctive sound) and I didn't hear the other hit anything. This concerned me because there was junk everywhere surrounding the table. I looked all around and just when I was about to give up, I decided to look into a trash bin at the foot of the table. It was filled with paper towels. Buried a few layers down was my stainless steel sphere. Whew!
Rather than spend time with the "story" or the "adventure" of the ball bearing riddle (and what an adventure it was for me) I want to document how I did it in case I ever need to do this again in the distant future. I will most likely have forgotten the steps, and there is a sequential procedure for it to work. And if others can make use of it, great.
First off, I do not know if this is the correct or only way to do this. It probably isn't, but it works. I dismantled the rail system a couple of times after to make sure it was repeatable and it was. The only thing I regret not doing was photographing it. I was too much in a hurry to rebuild it to see if it worked when fully assembled back. And luckily, it did. Now that all the parts are on, I do not want to dismantle it. I feel like I went to battle with this typewriter, brothers in arms, and we have now both returned safely home. It was hard earned and there are still some problems that need fixing, but this typewriter has now forever been a part of me, hard to part or relinquish it. And it earned it's nickname on this adventure, Lucky.
So what exactly is the problem or difficulty? Or what I call the Olivetti ball bearing riddle? Let's back track to the carriage system first. Like most typewriters, the carriage moves on a rail system facilitated by four ball bearings that move on these two rails, two balls each on the front and back rail. It's fairly simple to slide the carriage off the rail on either the left or right side after you remove what I'll call the rail stopper (picture A below) on the back of the machine or by lifting it up once the ball bearings are out. Once you remove the carriage there is a thin device that slips between the rails which holds the two ball bearings equidistant between the rails in place with a tiny center wheel that resembles a miniature fan (picture B below) that rides the notched rails as teeth not unlike a bicycle with it's chains. Where the Olivetti becomes challenging (and maybe this is so for many other typewriters) is the positioning of this device which I'll call the ball bearing retainer (these parts probably all have names but I don't know what they are. If you do, let me know please. thx).
The obvious solution of lining the balls and it's retainer device and slipping/inserting the carriage back on the rail like a train doesn't work. The balls will fall out depending where the carriage is on the rail because one side of this retainer extends outside of the parallel rails when the carriage is extended left or right. It doesn't matter which side of the typewriter you slip the carriage onto the rails. All it does is reverse the order of which balls will fall because the other side of the retainer will now be extended beyond where it should be. When you compare it to a functioning machine, you notice that this retainer device is always in the middle of the carriage, never extending itself to either end and overextending itself outside the needed parallel rails that keep the bearing in place. If you align and slip the carriage on the tracks, you can never get it in the middle. One end will always expose and overextend, dropping the bearing. How did they get this device in the middle? Once the ball bearings are in the rail, it locks the fan wheel to the notches and you cannot move the retainer device and ball bearings without moving the entire carriage. The system is now locked in sync. It's hard to describe unless you are dealing with it and for me, it felt like a riddle. How in the world did they get all four balls in and the device in the middle? It seems physically impossible.
So the questions really become how does one assemble the carriage rail system of an Olivetti Lettera 32? How do you insert the ball bearings into the retainer onto the rails without it falling later as the carriage moves from one side to the the other, or more precisely, how to you reassemble the rail system so it is exactly like how it left the Olivetti factory? Not close to, but exactly. This was key. This is where the second machine helped enormously. You have to have the retainer device in the middle first, but then how do you get the ball bearings in? This is where the order of things matter. At this point, I will just do a complete step by step.
Here are three photos where the red straw shows you where the retainer device should be when the carriage is in a certain position. The ultimate trick is how to get the device in the middle with the ball bearings.
Disassembling the carriage of an Olivetti Lettera 32:
1) Remove platen and teal paper carrier from carriage for easier viewing. This could be optional because you can see what you need to do with it on, but a bit of a annoyance in my opinion. And this is the easiest part IMO.
2) Remove silver margin setter bar. Unhook the carriage drawstring. I hook it to a nearby screw rather than unwinding it.
3) Remove black "rail stopper" contraption. This is a simple unscrewing but then I had to use some brute force to actually get it out. This is the single reason I won't disassemble it again if I don't need to. After three times, I felt I was pressing my luck and may break this screw.
 |
| picture A (it's connected to a few things so note that) |
4) Once the rail stopper is removed, you can slide the carriage in either direction past it's limits and the ball bearings will drop loose. I recommend sliding it to the right if the keyboard is facing north, i.e. the return lever side. (I do so because you should familiarize yourself with this movement for reassembly) You will see the escapement wheel mechanism which you could not do so when the rail stopper was in place. Once you pass it, the ball bearings will drop because the retainer is overextended and beyond the parallel rails.
Once it's loose, you can lift up the carriage. You can't actually slide the carriage out from either side. There is an arrow like piece of metal that I believe is part of the margin or tab system that will restrict this so you need to lift it up to remove it. This metal arrow pointing up will play a minor part of putting this back together again later so familiarize where it goes, i.e. in the empty horizontal gap on the back of the carriage.
5) Once the carriage is off, you should have four ball bearings, two thin ball bearing retainer devices measuring about five inches with a tiny fan wheel in the center. (see picture B below for drawing of retainer).
Assembling the ball bearings and carriage of an Olivetti Lettera 32:
1) Place the carriage back on it's rail. Make sure the metal arrow pointing up is safely in the horizontal gap in the back of the carriage.
2) Place the carriage where the 0 on the measurement bar is directly in line with the type guide. Or as close as you can. This is key to get it right the first time to match factory specs.
 |
| photo angle doesn't show straight alignment |
3) Take one of the bearing retainers and insert it between the rails without using the ball bearings. Let's do the front one first. The first half will be easy, but then you will need to carefully shimmy the second half in because the fan wheel will not notch properly without any bearings in place. The first retainer should also be easier since you can move the carriage to get more room. In this case, move it back so you can slip the thin device in the front rails. Insert it until the retainer end is flush with edge of the rail of the typewriter and not the carriage (see picture B).
4) Now insert the retainer device into the back rail without the ball bearings. This will be trickier because there is less room. Be careful not to shimmy it too hard and break any of the wheels teeth. I noticed moving the carriage back and forth gently while shimmying helped. Also place the retainer end flush to the edge of the typewriter rail. Remember to never move the carriage this whole time from the 0 alignment with the type guide. This is how you keep the retainer device in the middle of the carriage at all times.
 |
| picture B ("shimmy" not "jimmy") |
5) Insert the two ball bearings into the left exposing retainer holders (BTW the typewriter keyboard is always facing north in my instructions here). You may need to roll the carriage over two notches to the left to expose it, hence rolling beyond the 0 mark to the negative and unmarked ruler part. Don't worry about rolling it too far because that metal arrow pointing upward will hit the end of the carriage so you won't fall of the rail.
6) Once they are in, roll the carriage system to the right slowly. The carriage is officially now in a locked sync position. As you move the carriage past the wheel escapement mechanism, go slowly and the bearings will fall out again to the escapement area once this side of the retainer is exposed. Don't worry, this is normal. We just put in the bearings to move the carriage. This is where the order of things matter. You should now notice that all four of the bearing retainer holders are exposed. Two from the inside from the escapement mechanism, and two from the outside, the end of the rails at the return lever side. You may need to find the right notch to get them all at the same time, but they are all reachable at this point.
7) Insert all four bearings simultaneously. Hold in place with four fingers. Two from each hand on each side. Press them in and roll to the left and center the carriage. Voila! They're now all in and the retainer device is now in the middle of the carriage, locked in sync. To be safe, lock your carriage lock because if the carriage moves accidentally too far, the bearing can still fall out. If so, just repeat the exercise. Once you install the rail stopper contraption, the bearing retainer device will not over extend past the parallel rails at any point. This is where the 0 measurement alignment is important.
8) Reassemble the rail stopper, re-attach the drawstring, and test the carriage at both ends. I think you will notice this contraption limits it's movements so the ball bearings stay held in.
9) Reassemble the rest of the machine such as margin bar, paper carrier, and platen.
I hope this works for you if you happen to need to take apart the carriage of an Olivetti. I'm sure there can be variations to this method and there may be an easier way. I'd love to know if there is. But I tested this three times and fine tuned it to make sure it was precise and repeatable so I know this at least works. Happy repairs!